In this article, you learn how to integrate Hermix with Microsoft Entra ID.
Requisitos previos
- A Microsoft Entra tenant with a Cloud Application Administrator account.
- A Hermix subscription with SAML SSO enabled.
- A Hermix account with Admin privileges.
Add Hermix from the gallery
- Sign in to the Microsoft Entra admin center as at least a Cloud Application Administrator
- Browse to Identity > Applications > Enterprise applications > New application
- Enter Hermix in the search box, select it from the results, and add the app to your tenant
- If Hermix does not appear, our application is still pending publishing. Press Create your own application at the top of the page
- In the side menu, enter a name that helps identify this app as used by Hermix
- Select Integrate any other application you don’t find in the gallery (Non-gallery)
- If Hermix does not appear, our application is still pending publishing. Press Create your own application at the top of the page
Configure and test Microsoft Entra SSO for Hermix
Configure and test Microsoft Entra SSO with Hermix.
- Configure Microsoft Entra SSO
- Create and assign the Microsoft Entra test user
- Configure Hermix SSO
- Test SSO
Configure Microsoft Entra SSO
1. In the Microsoft Entra admin center, browse to Identity > Applications > Enterprise applications > Hermix > Single sign-on
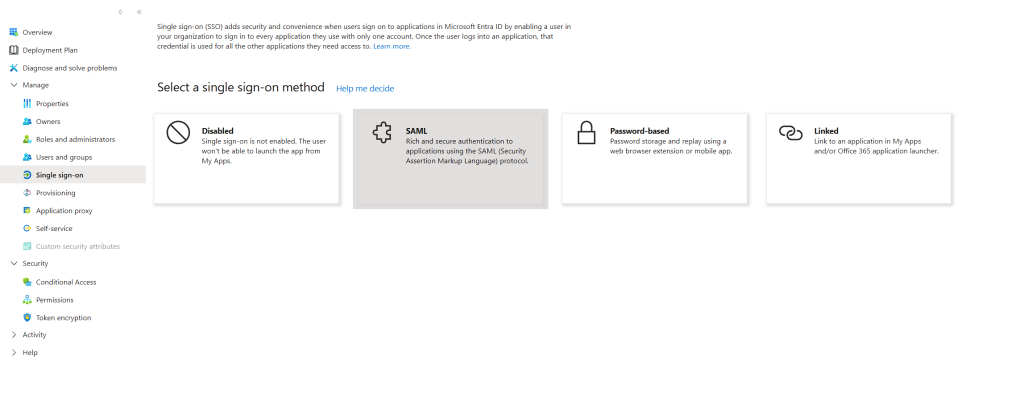
2. Select SAML, and then edit Basic SAML Configuration
3. In SAML Certificates, copy the federation metadata URL required by Hermix
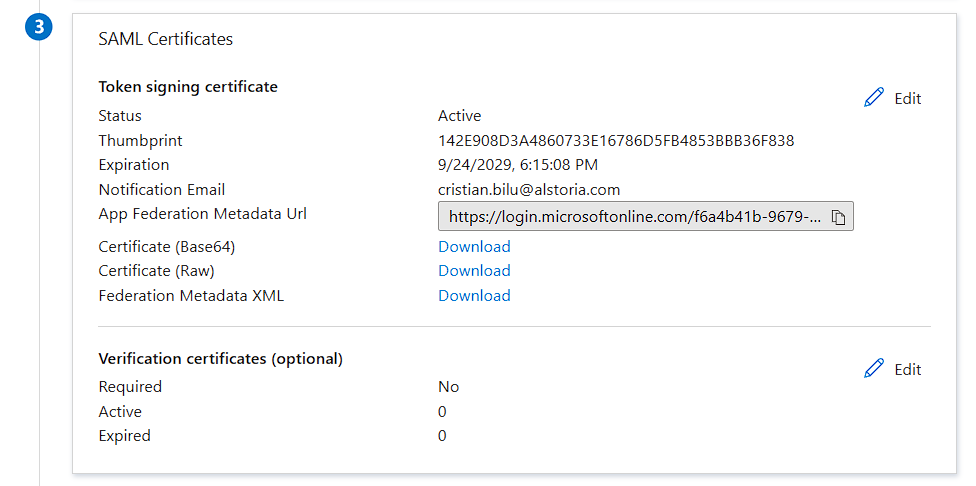
Create and assign the Microsoft Entra test user
- In the Microsoft Entra admin center, create a test user or choose an existing test user
- Assign the test user to Hermix in Users and groups
Configure Hermix SSO
- Sign in to Hermix as an Admin
- Browse to My team > Settings > Security & Privacy
- Enable SAML SSO and enter the Metadata URL copied earlier, leave
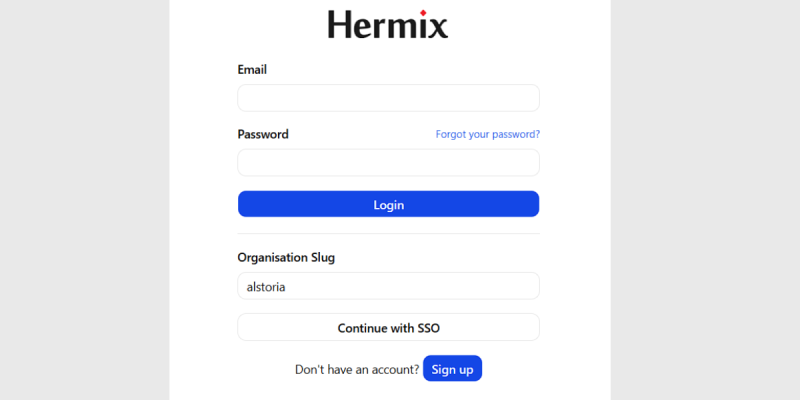
Organisation codeas is or choose a code that represents your organisation- This code must be easy to remember, it will be used on the Hermix login page to initialize the SSO Authentication.
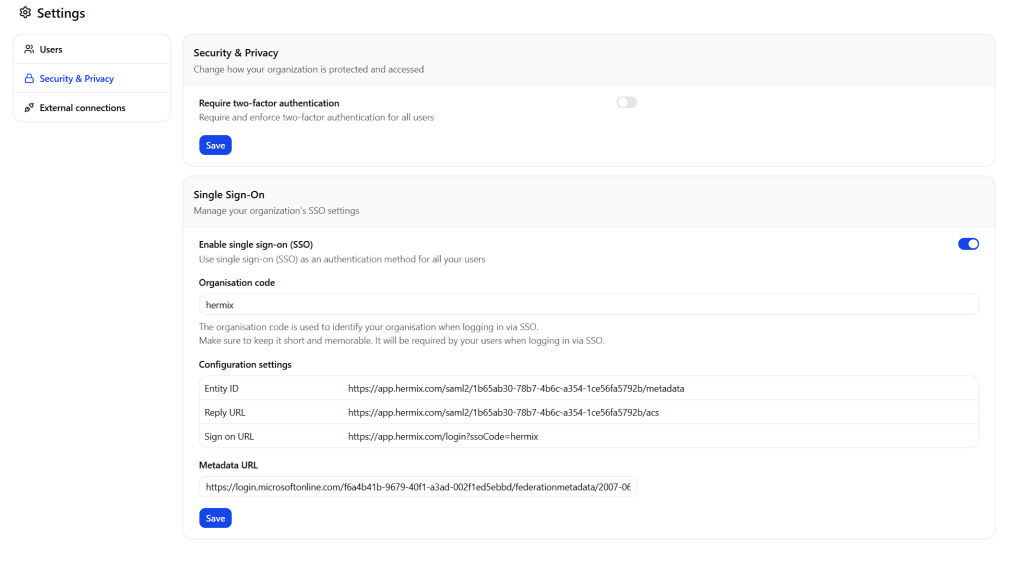
4. Save the configuration.
Create Hermix test user
- Sign in to Hermix as an Admin
- Browse to My team > Settings > Security & Privacy
- Enable SAML SSO and enter the Metadata URL copied earlier, leave Organisation code as is or choose a code that represents your organisation
- This code must be easy to remember, it will be used on the Hermix login page to initialize the SSO Authentication.
- Save the configuration.
Test SSO
- Sign in to My Apps with the Microsoft Entra test user
- Seleccione el Hermix tile
- Confirm that you are signed in to Hermix without another authentication prompt
- Go to Hermix
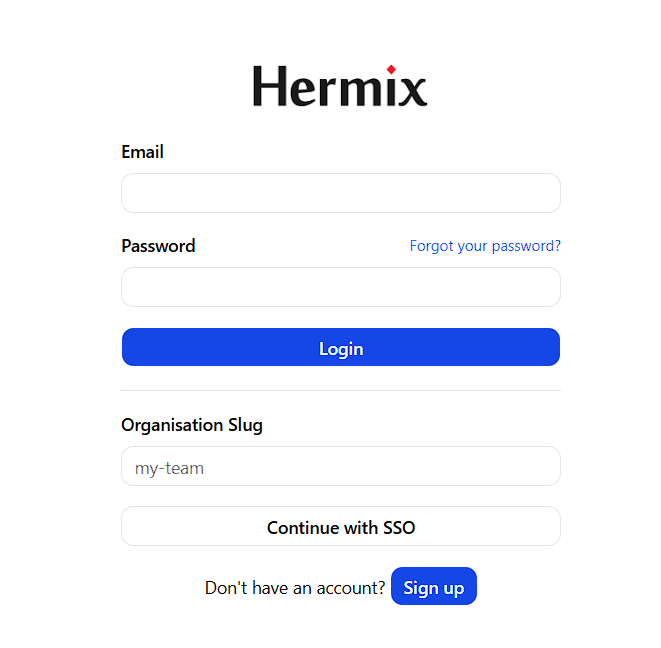
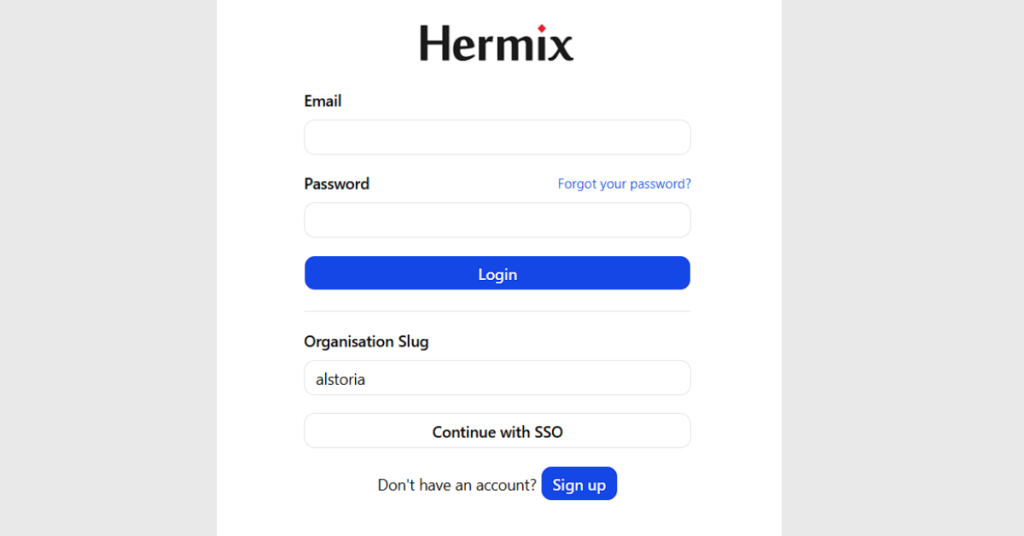
- Press Continue with SSO and input the
Organisation code - Confirm that you are redirected to Microsoft for authentication and that you are signed in to Hermix after you select your user